Exploring the Art of Resin: Techniques for Stunning Projects
Understanding the Basics of Resin Art and Its Appeal
Resin art has taken the crafting world by storm, captivating artists and hobbyists alike. At its core, resin is a liquid polymer that hardens into a solid, offering a glossy, glass-like finish. This unique quality allows for vibrant colors and intricate designs, making every piece truly one-of-a-kind. Whether you're making coasters, jewelry, or larger art pieces, the versatility of resin opens up a world of creative possibilities.
Art is not a thing; it is a way.
The appeal of resin art lies not just in its beauty, but also in the process itself. Working with resin can be therapeutic; it's a blend of science and artistry, where precise measurements and mixing techniques yield stunning results. Many find joy in experimenting with different colors and additives, creating pieces that reflect their personal style. This hands-on approach makes resin art accessible and enjoyable for anyone willing to try.
As you embark on your resin journey, it's essential to understand the materials you'll be working with. Epoxy resin comes in various types, each with different curing times and properties. Choosing the right resin can significantly impact the outcome of your project, so doing a bit of research can pay off in the long run.
Essential Tools and Materials for Resin Projects
Before diving into resin art, it's crucial to gather the right tools and materials. At the very least, you'll need epoxy resin, a hardener, mixing cups, and stirring sticks. These basics will allow you to start creating, but consider investing in additional items like silicone molds, color pigments, and heat guns for more advanced projects. Each tool plays a role in achieving the desired finish and effect in your artwork.
Safety should also be a top priority when working with resin. Always use gloves and work in a well-ventilated area to minimize exposure to fumes. Some artists opt for masks to protect against inhaling any harmful particles during the mixing process. Taking these precautions ensures a safe and enjoyable crafting experience, allowing you to focus on unleashing your creativity.
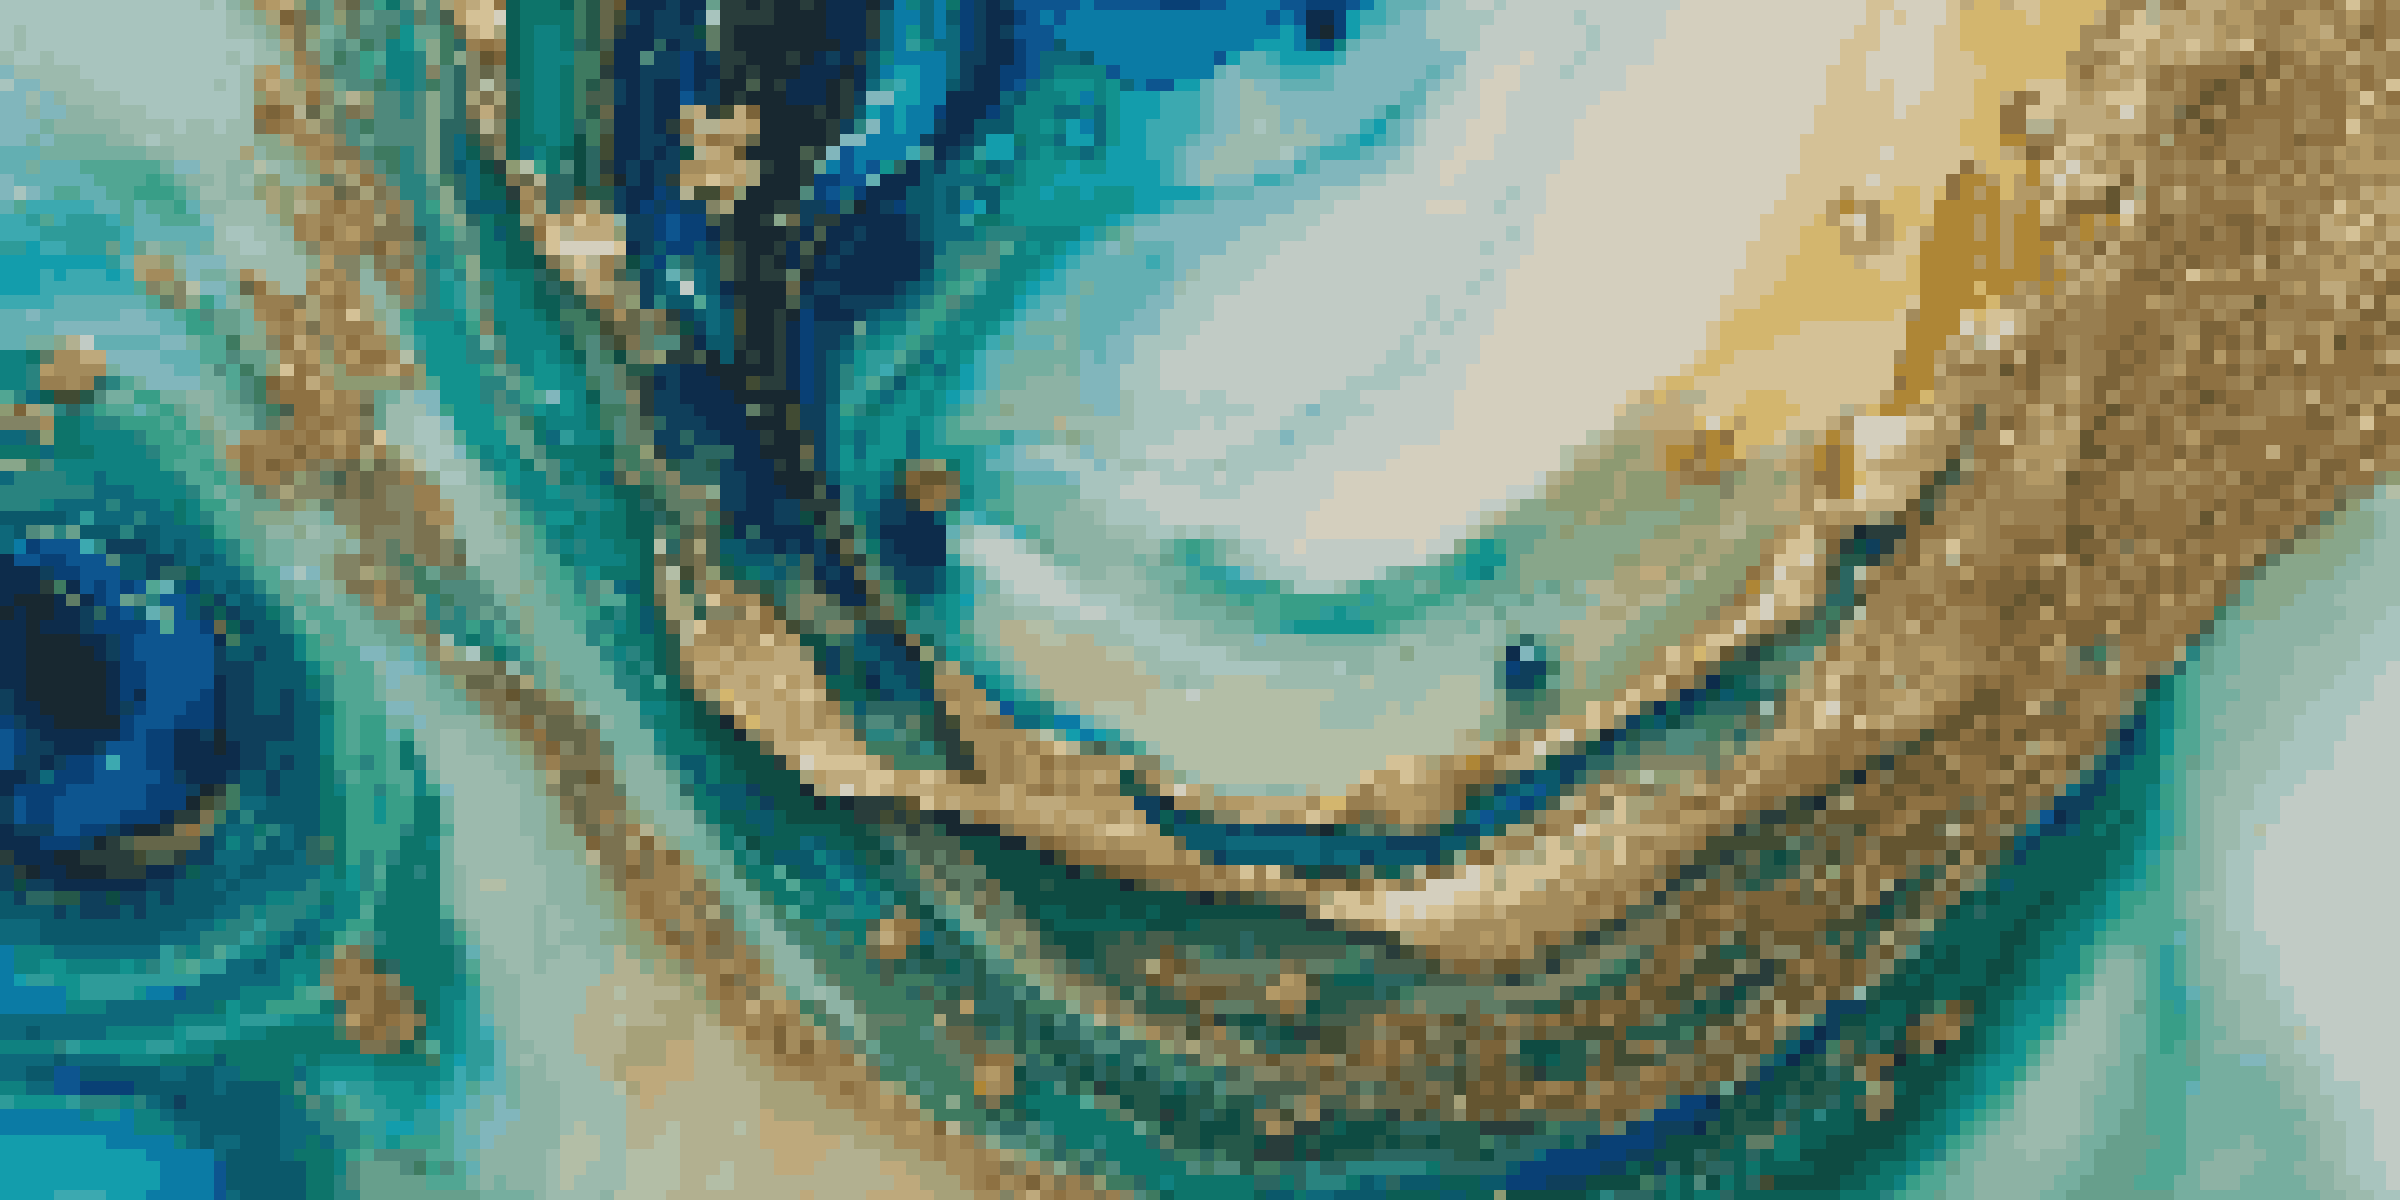
Resin Art: A Creative Journey
Resin art combines science and creativity, allowing artists to express their unique styles through vibrant colors and intricate designs.
Don't forget to consider the surfaces you'll be working on. Resin can be poured onto a variety of materials, including wood, canvas, and glass. Each surface can yield different effects and finishes, providing endless opportunities for experimentation. By understanding how resin interacts with different substrates, you can expand your repertoire and create stunning pieces.
Mixing Resin: Techniques for Success
Mixing resin correctly is a critical step in the process that can make or break your project. Start by measuring the resin and hardener accurately, following the manufacturer's instructions closely. A common ratio is 1:1, but always double-check as it can vary by brand. Using a scale can help you achieve precision, ensuring a successful mix that cures properly.
Creativity takes courage.
When mixing, it's essential to stir slowly and thoroughly to prevent bubbles from forming. Stirring too vigorously can introduce air, leading to unwanted bubbles that can mar the surface of your finished piece. A good rule of thumb is to mix for at least three minutes, scraping the sides and bottom of your mixing container to ensure everything is well combined. After mixing, let the resin sit for a few minutes to allow bubbles to rise before pouring.
If you want to add color or other additives, now's the time to do it! Incorporating pigments, glitter, or even dried flowers can elevate your project to new heights. Just remember to mix these additions in gently to maintain the clarity and quality of your resin. This is where your creativity shines, as the possibilities are virtually endless!
Exploring Color Techniques in Resin Art
Color is one of the most exciting aspects of resin art, and there are countless techniques to explore. One popular method is the use of color pigments, which can be mixed directly into the resin for a solid hue. You can also experiment with alcohol inks for vibrant, translucent effects that create stunning depth. Layering colors can produce beautiful gradients, making your artwork truly dynamic.
Another technique involves pouring different colors at once to create swirls or cells. This approach allows the colors to interact, producing mesmerizing patterns reminiscent of marble or ocean waves. Using a heat gun or torch can help blend the colors further, but be cautious as too much heat can distort the resin. The key is to find a balance that enhances your design without compromising its integrity.
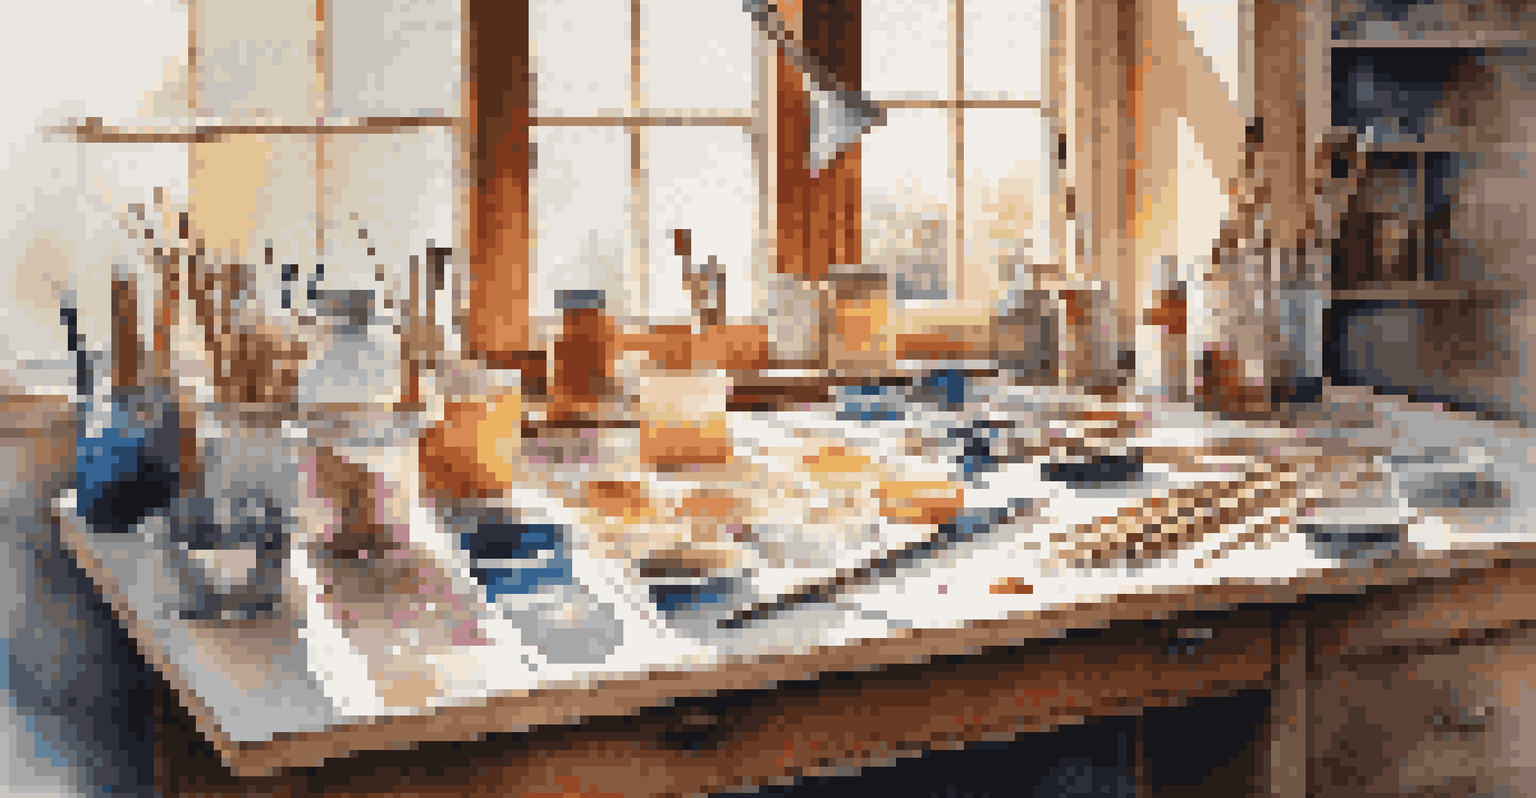
Essential Tools for Success
Gathering the right tools and materials, including epoxy resin, hardener, and safety gear, is crucial for a safe and successful resin art experience.
Don't be afraid to think outside the box when it comes to color. Transparent and opaque pigments can be combined for unique effects, and adding metallic powders can give your pieces a stunning shimmer. The beauty of resin art is that there are no strict rules; it's all about exploring your creativity and finding what resonates with you.
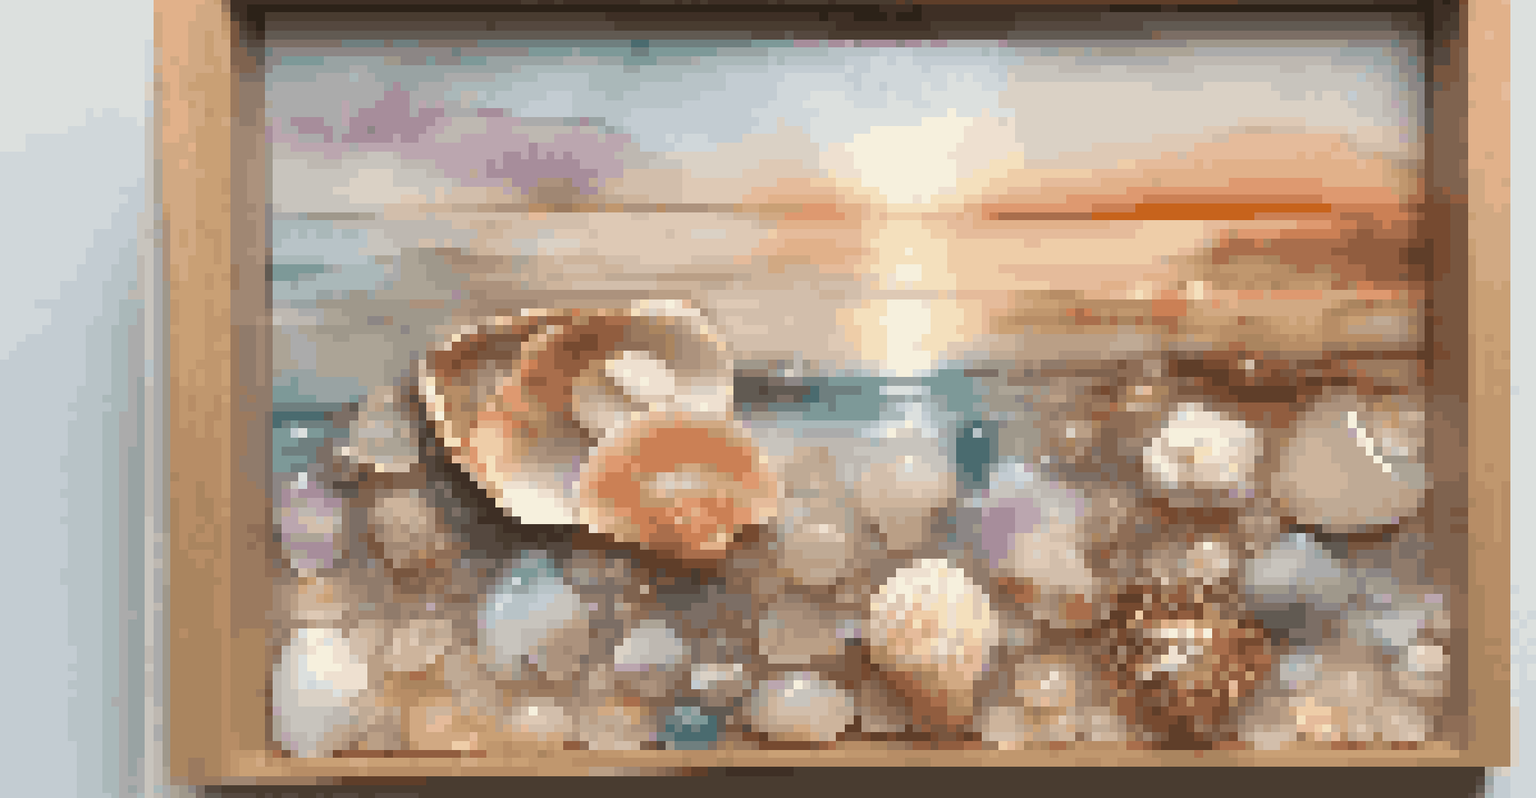
Special Effects: Creating Depth and Texture
Creating depth and texture in your resin art can take your projects from ordinary to extraordinary. One technique involves layering different thicknesses of resin, allowing each layer to cure before adding the next. This method can create a three-dimensional look that draws the viewer in, making your artwork truly captivating. Consider incorporating items like sand or beads between layers for added interest and texture.
Another way to achieve unique effects is by manipulating the resin while it is still liquid. You can create waves or ripples by gently tilting your surface or using tools like a palette knife to carve into the resin. This hands-on approach allows for a free-form style that can lead to unexpected and beautiful results. It’s all about experimenting and finding what techniques resonate with your artistic vision.
Lastly, consider adding finishes like gloss or matte sprays for additional depth. These finishes can alter the appearance of your completed piece, enhancing or softening the colors. The right finish can make your artwork pop or lend it an elegant, sophisticated look, allowing you to customize your pieces even further.
Common Mistakes and How to Avoid Them
Like any craft, resin art has its share of common pitfalls. One mistake many beginners make is not measuring the resin and hardener accurately, which can lead to incomplete curing or a sticky finish. Always take your time to measure carefully, using a scale if possible. Following the manufacturer's guidelines will save you from frustration and wasted materials.
Another frequent issue is bubbles forming during mixing or pouring. While some bubbles can be removed with a heat gun, others might remain trapped in your artwork. To minimize bubbles, stir slowly and allow your mixture to sit for a few minutes before pouring. You can also use a torch or heat gun to gently pass over the surface after pouring to release any trapped air.
Avoiding Common Mistakes
Careful measuring, proper mixing techniques, and maintaining a clean workspace can help prevent common pitfalls in resin art projects.
Lastly, be mindful of your working environment. Dust, hair, and other particles can ruin a perfect finish, so make sure you’re working in a clean space. Covering your pieces while they cure can help protect them from airborne debris. By avoiding these common mistakes, you'll set yourself up for success and enjoy the resin art process even more.
Finishing Touches: Demolding and Polishing
Once your resin has cured completely, the demolding process can be both exciting and nerve-wracking. Carefully remove your piece from the mold, taking your time to avoid any damage. If your resin has cured correctly, it should come out smoothly, revealing the beautiful piece you've created. Should you encounter any rough edges, don’t worry; there are ways to smooth them out.
Sanding is a common technique used to polish and refine the edges of your resin art. Using fine-grit sandpaper, gently sand the edges until they are smooth to the touch. If your piece is larger, consider using a power sander for efficiency. After sanding, wipe down your piece to remove any dust and prepare it for finishing.
For an extra glossy finish, applying a resin topcoat can enhance the appearance of your artwork significantly. This final touch can elevate your piece, giving it a professional look. Just remember to follow the application instructions carefully to achieve the best results. With these finishing touches, your resin art will shine and impress everyone who sees it!