The Art of Creating Screen Prints: Techniques for Beginners
Understanding the Basics of Screen Printing for Beginners
Screen printing, also known as silk screening, is a popular method for creating vibrant designs on various surfaces. At its core, it involves using a mesh screen to transfer ink onto the desired material, such as fabric or paper. This technique allows for bold colors and intricate details, making it a favorite among artists and DIY enthusiasts alike.
Creativity takes courage.
To get started, you'll need a few basic supplies: a screen, a squeegee, ink, and the material you wish to print on. The process begins by creating a stencil or design, which will determine where the ink will go. Understanding these components is essential as they lay the foundation for successful screen printing.
Once you grasp the basics, screen printing can be an exciting way to express your creativity. Whether you're looking to create custom t-shirts or unique art prints, the possibilities are endless. Just remember, like any art form, practice makes perfect!
Essential Tools and Materials for Screen Printing
Having the right tools and materials is crucial for a successful screen printing experience. Some of the essential items include a fabric screen, a squeegee, photo emulsion, and a good quality ink. Each item plays a key role in the process, so it's worth investing in quality materials.
For beginners, a starter kit can be a great way to gather everything you need without feeling overwhelmed. These kits typically include a screen, squeegee, emulsion, and ink in various colors. As you grow more comfortable, you can expand your toolkit with additional colors and specialty inks.
Essentials for Screen Printing Success
Gathering the right tools and materials, such as a screen, squeegee, and quality ink, is crucial for a successful screen printing experience.
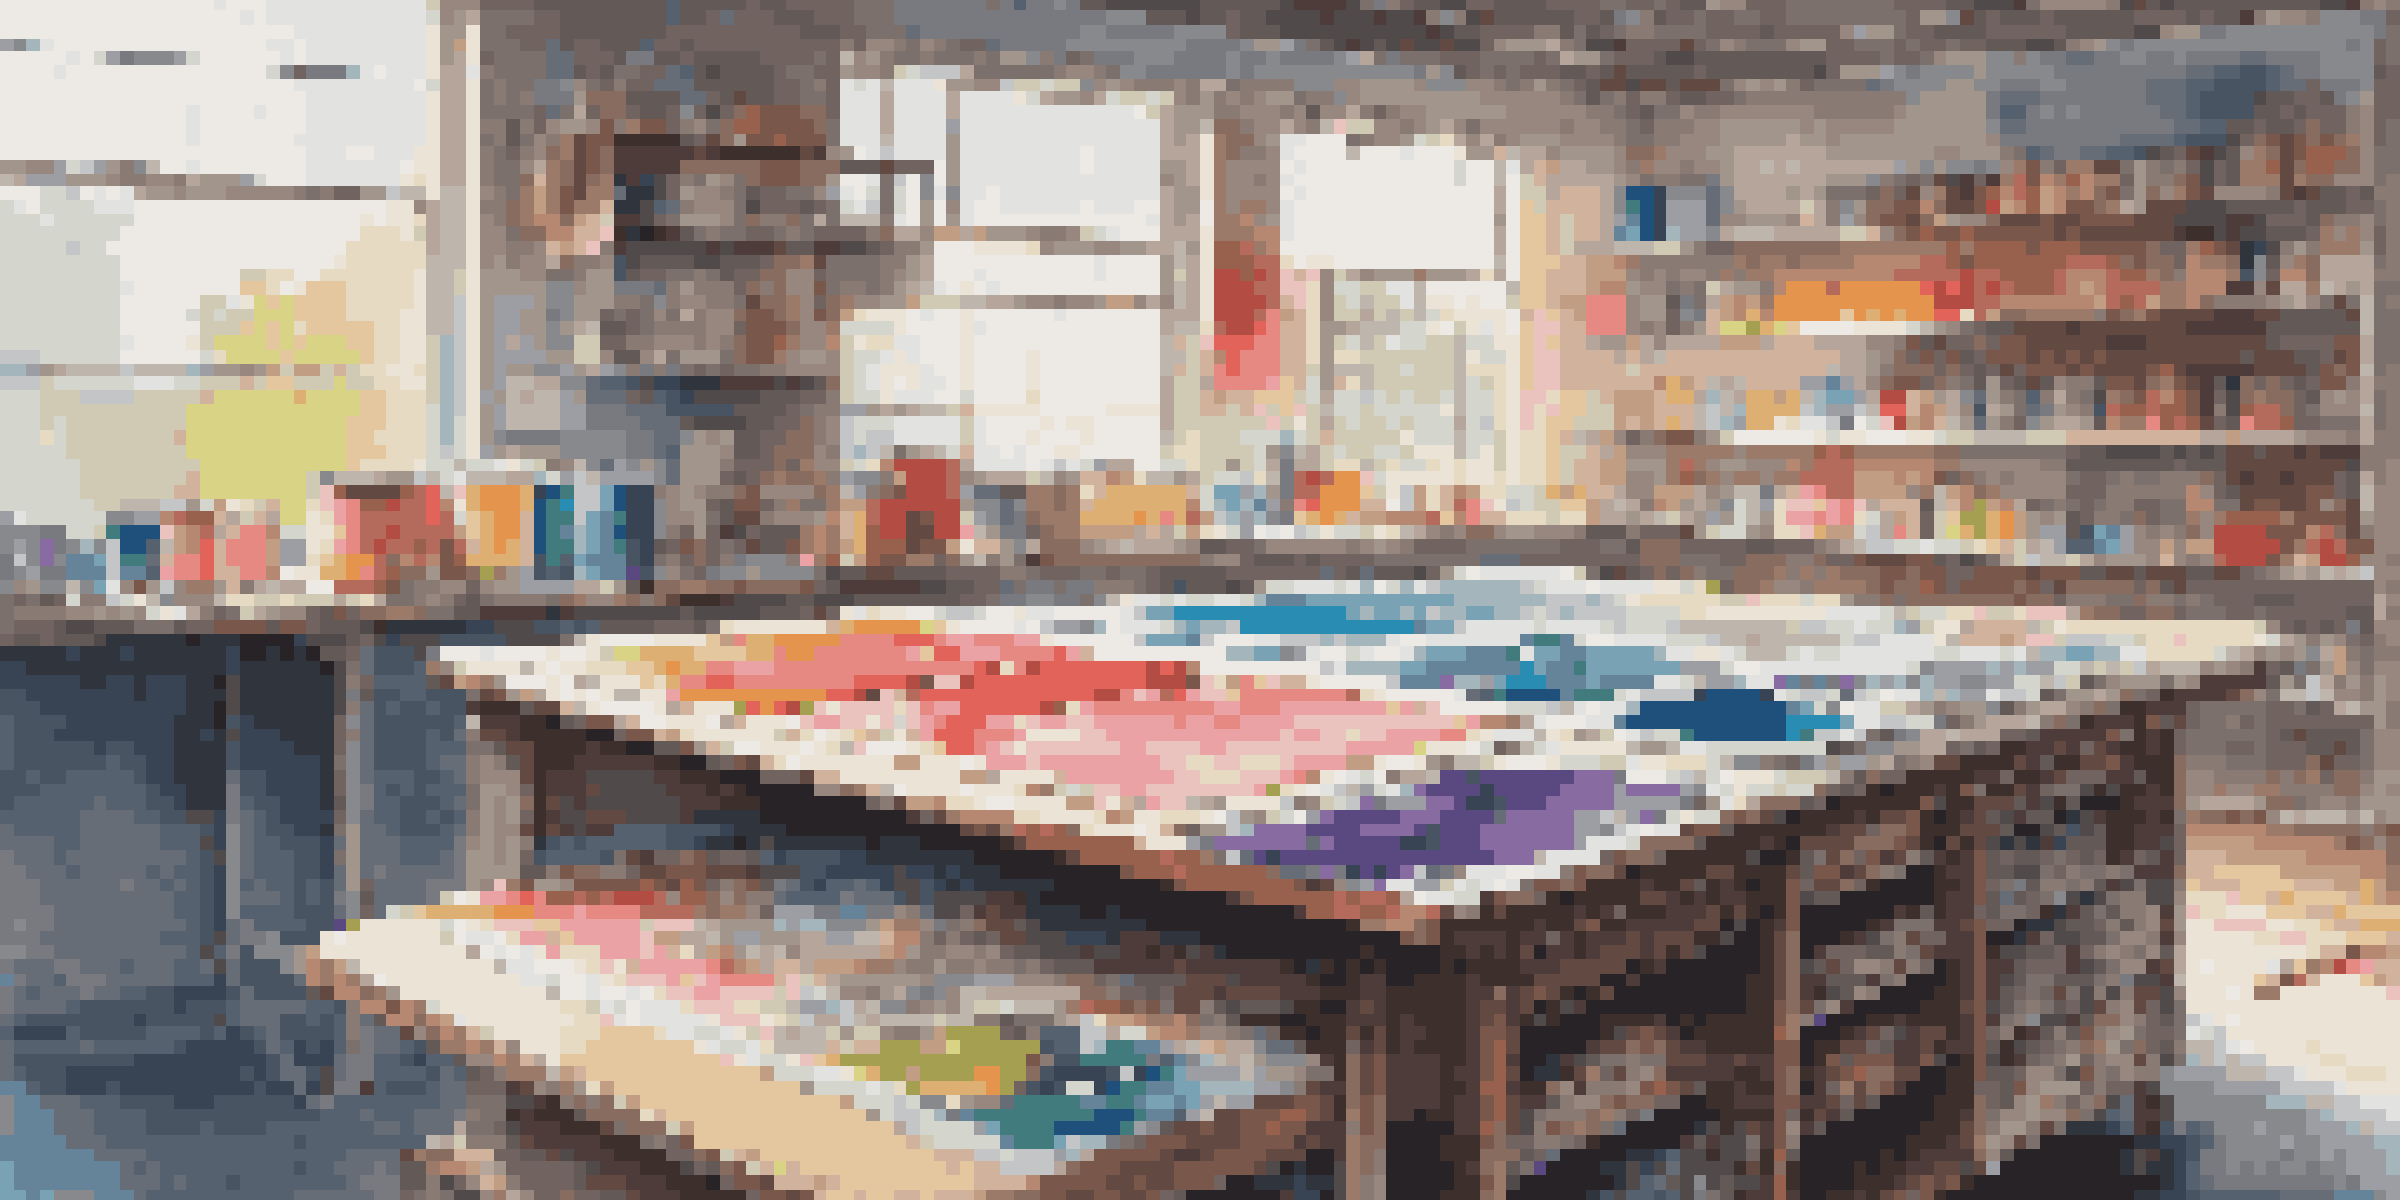
Additionally, don't forget to consider the workspace. A well-lit, clean area will help you focus and ensure that your prints turn out beautifully. Setting up your space thoughtfully can significantly enhance your screen printing experience.
Creating Your First Screen Print: Step-by-Step Guide
Now that you have your materials ready, it's time to create your first screen print! Start by designing your image or stencil, which can be done digitally or by hand. Once you have your design, you’ll need to transfer it onto your screen using photo emulsion, which allows for precise ink application later.
Art is not freedom from discipline, but disciplined freedom.
After exposing the screen to light, wash it out to reveal your stencil. This step can be exciting as you see your design come to life. Be sure to let the screen dry thoroughly before moving on to the printing phase.
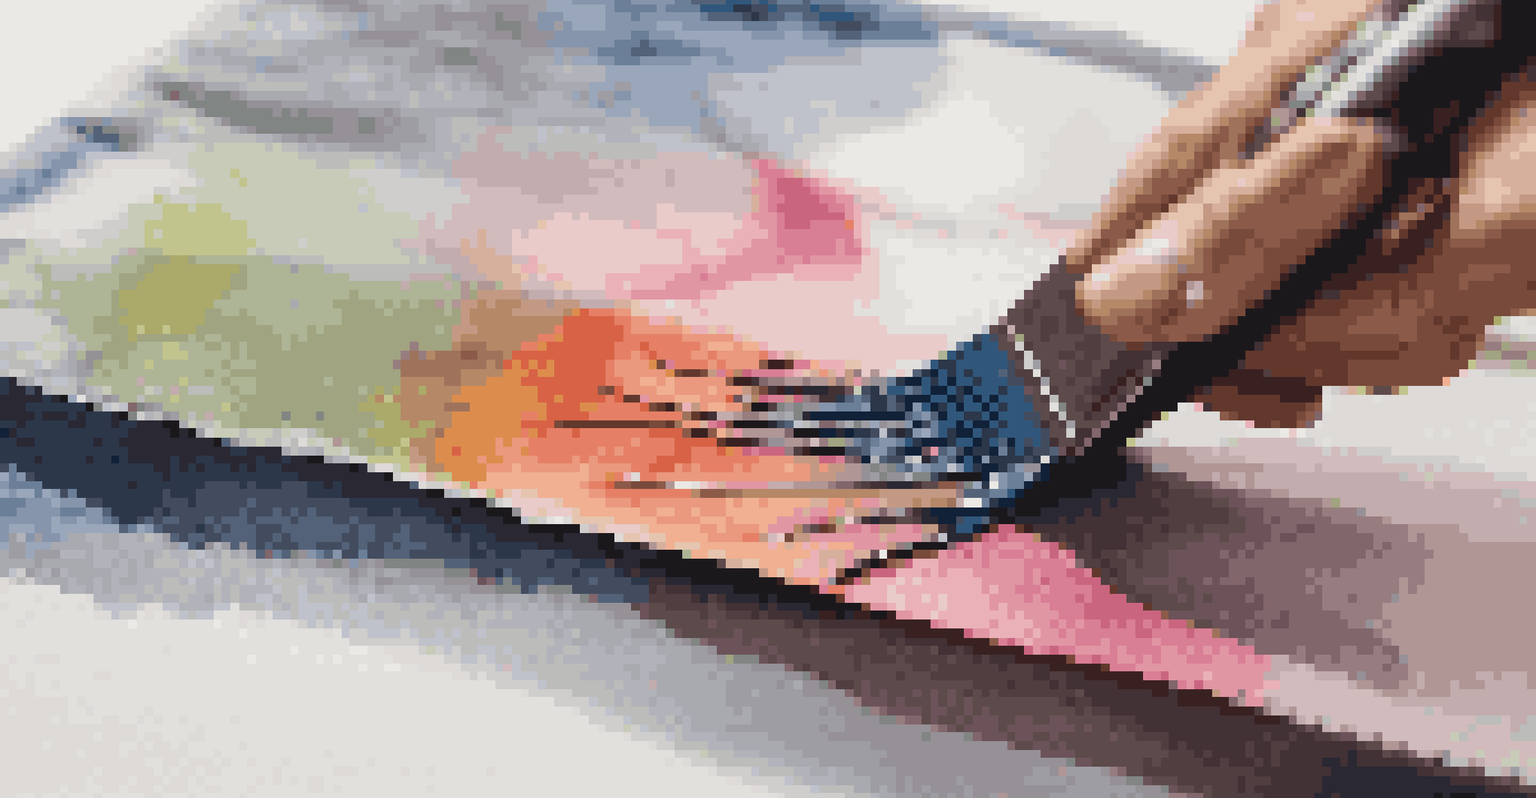
Next, place your screen over the material you wish to print on, and use the squeegee to spread ink across the screen. The key is to apply consistent pressure to ensure an even print. Lift the screen carefully to reveal your masterpiece!
Tips for Achieving Clean and Crisp Prints
Achieving clean and crisp prints can be one of the most satisfying parts of screen printing. One of the best tips for beginners is to ensure your screen is properly coated with emulsion and exposed to light correctly. An improperly exposed screen can lead to blurred images or missed details.
Another important aspect is the ink consistency. Too thick or too thin can affect how the ink transfers to your material. If you find your ink too thick, consider adding a small amount of reducer to achieve the right consistency.
Steps to Create Your First Print
Design your stencil, expose it onto your screen, and carefully apply ink to bring your creative vision to life.
Finally, practice makes perfect. Don’t be afraid to experiment with different techniques and materials. The more you print, the more you'll learn about achieving those crisp, clear designs that you envision.
Common Mistakes to Avoid While Screen Printing
Like any craft, screen printing has its common pitfalls, especially for beginners. One mistake is not cleaning your screen properly after each use. Residual ink can lead to unwanted marks on your next print, so make it a habit to clean thoroughly.
Another common error is rushing the drying process. Whether it’s the emulsion or the ink, allowing proper drying time is crucial for achieving high-quality prints. Patience will pay off when you unveil your finished project.
Lastly, don’t forget to test your designs on scrap material before moving to your final piece. This helps you identify any issues without ruining your main project. Learning from these mistakes can significantly enhance your screen printing skills over time.
Exploring Different Inks and Their Effects
When it comes to screen printing, the type of ink you use can drastically alter the final product. Water-based inks are great for beginners as they are easy to clean and have a softer feel on fabric. They are also environmentally friendly, making them a popular choice among eco-conscious creators.
On the other hand, plastisol inks are known for their vibrant colors and durability. These inks sit on top of the fabric, creating a thick layer that can withstand many washes. However, they require special cleaning agents and can be more challenging for beginners.
Tips for Clean and Crisp Prints
Proper emulsion application, ink consistency, and practice are key to achieving the clean, detailed prints you desire.
Experimenting with different inks will help you discover what works best for your projects. Each ink type offers unique benefits and challenges, so don’t hesitate to try them out and see which ones resonate with your creative style.
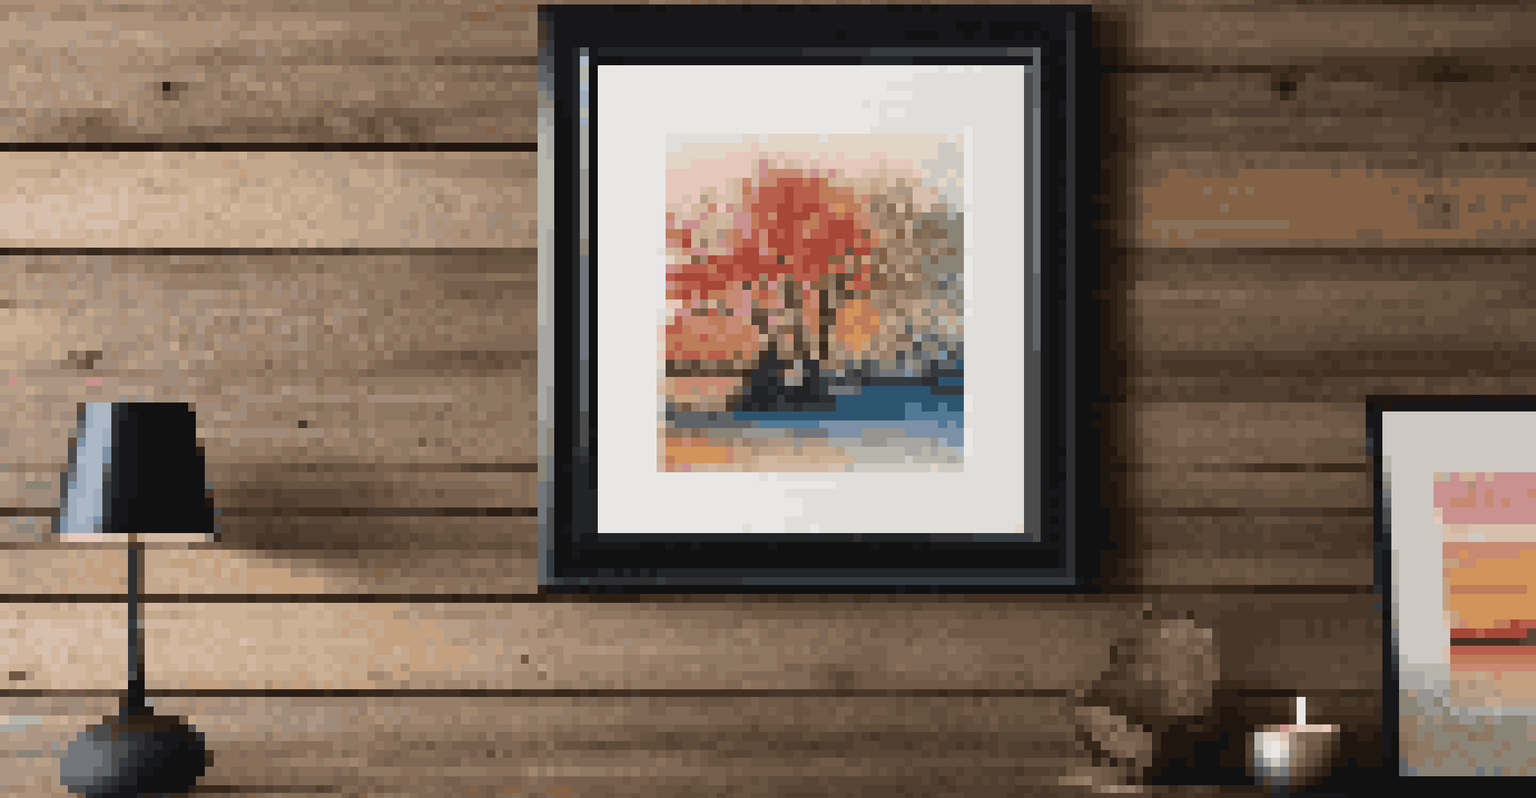
Showcasing Your Screen Prints: Tips for Displaying Art
Once you've created your screen prints, the fun doesn’t stop there! Showcasing your artwork is an essential part of the process. Consider framing your prints to give them a polished look. A simple frame can elevate your art and make it suitable for any wall.
Another idea is to create a gallery wall featuring a collection of your works. This not only highlights your growth as an artist but also creates a visually appealing display. You can mix your prints with other artwork or photographs for a personalized touch.
Lastly, consider sharing your prints online or at local markets. Engaging with your community can lead to connections and opportunities to showcase your talents. Plus, receiving feedback can be incredibly motivating as you continue on your screen printing journey.