The Basics of Airbrush Techniques: Tips for Perfect Application

Understanding the Airbrush: Types and Components
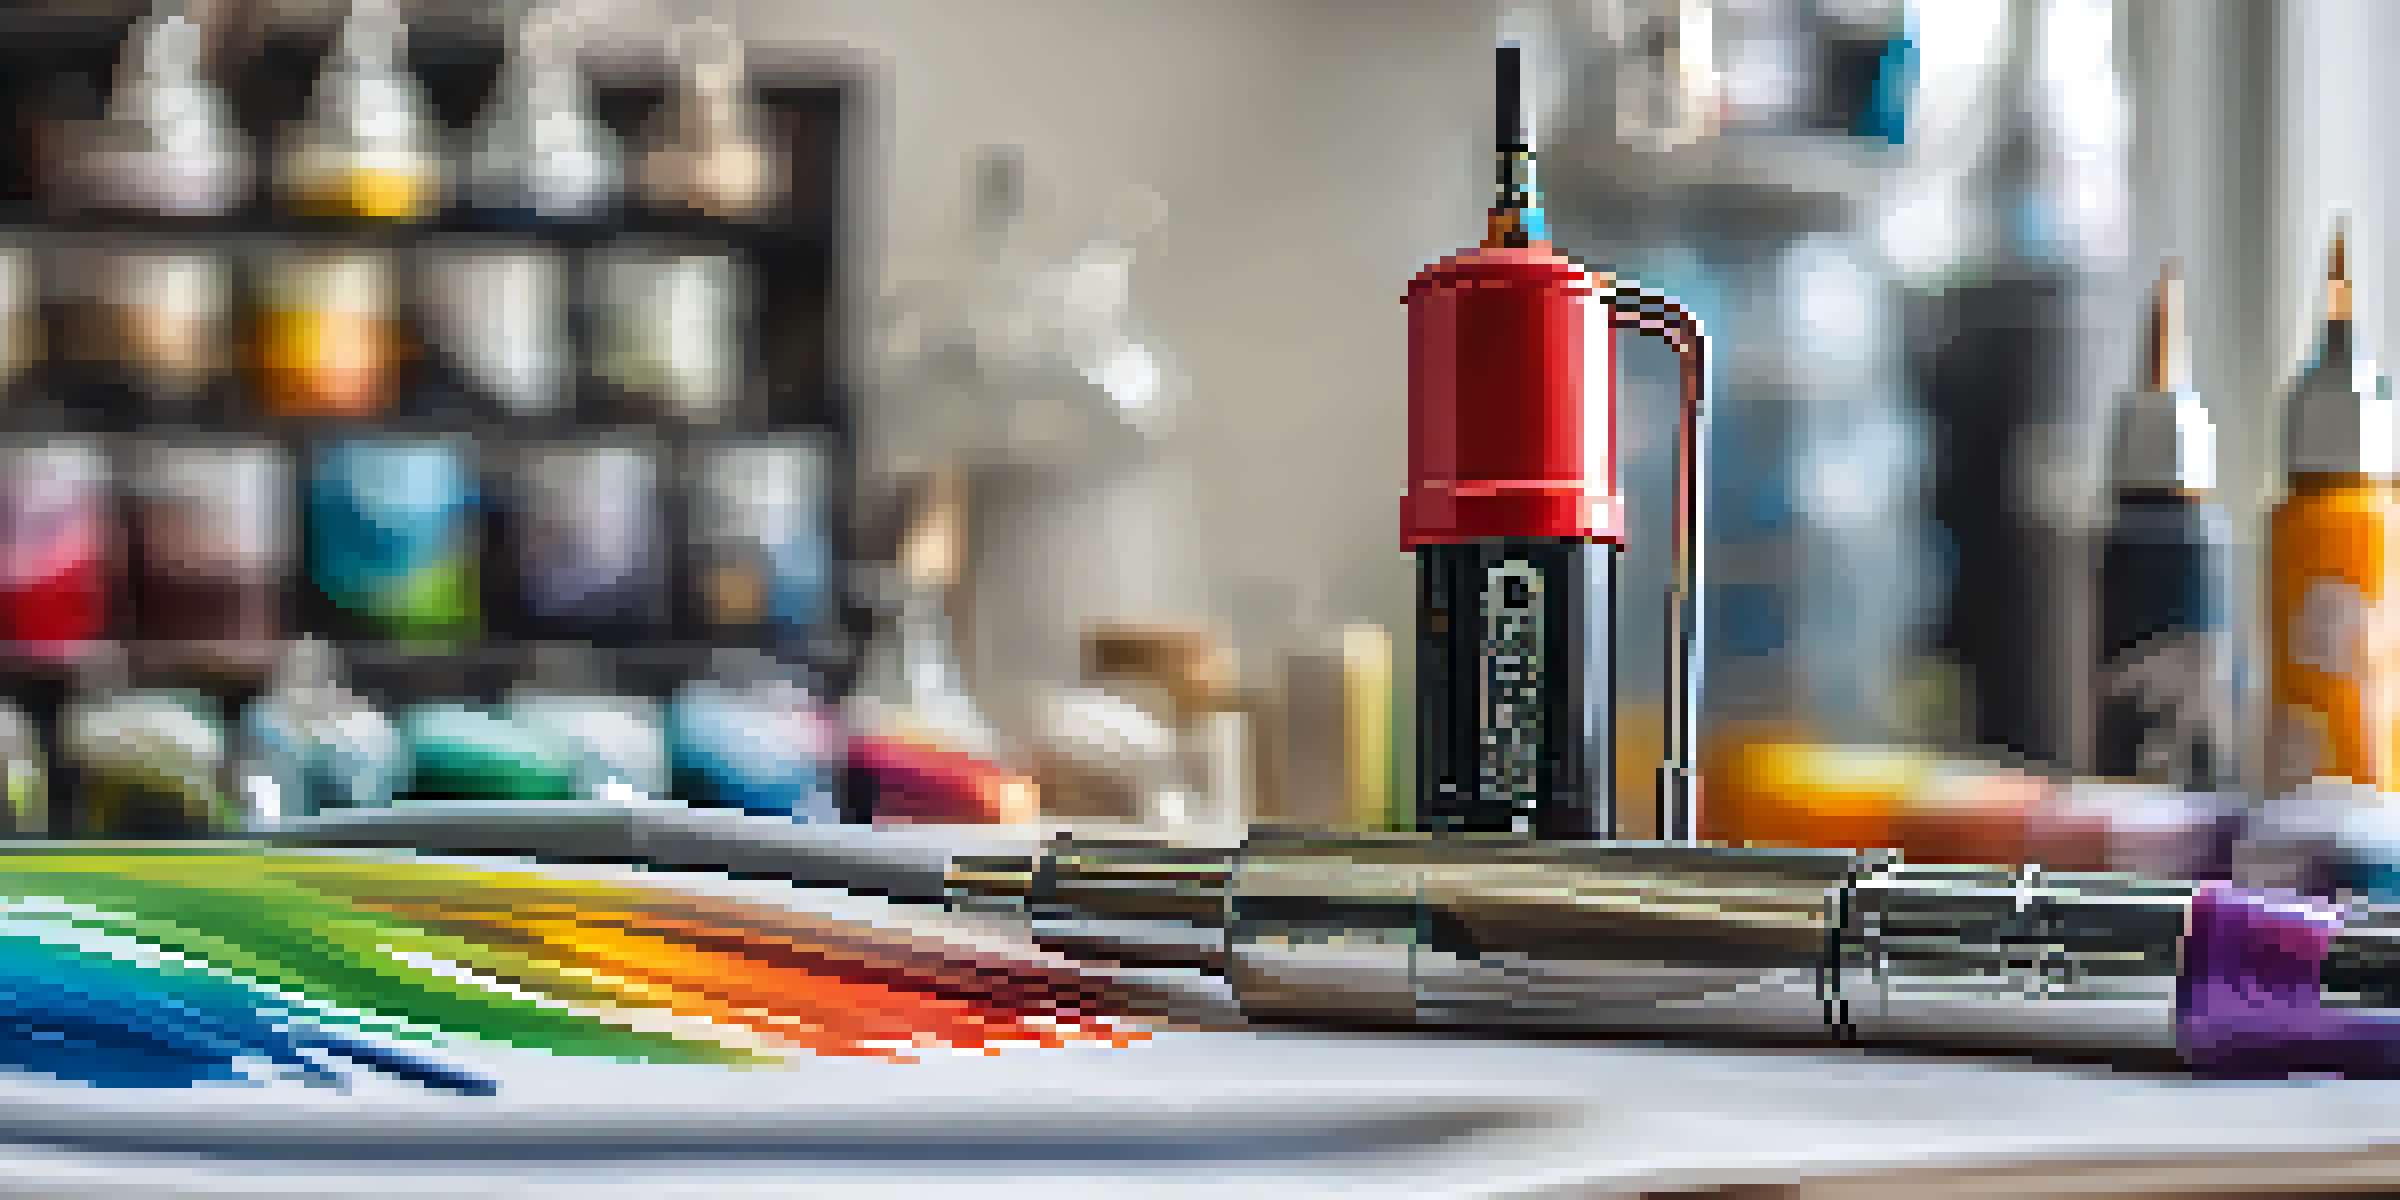
Before diving into airbrush techniques, it's essential to understand the tool itself. An airbrush is a compact spray gun that uses compressed air to atomize paint, allowing for smooth application. There are two main types: gravity feed, where paint is drawn from a cup above, and siphon feed, where it comes from a bottle below. Each type has its own benefits and is suited for different applications.
The airbrush is a tool that allows for creativity to flow freely and effortlessly.
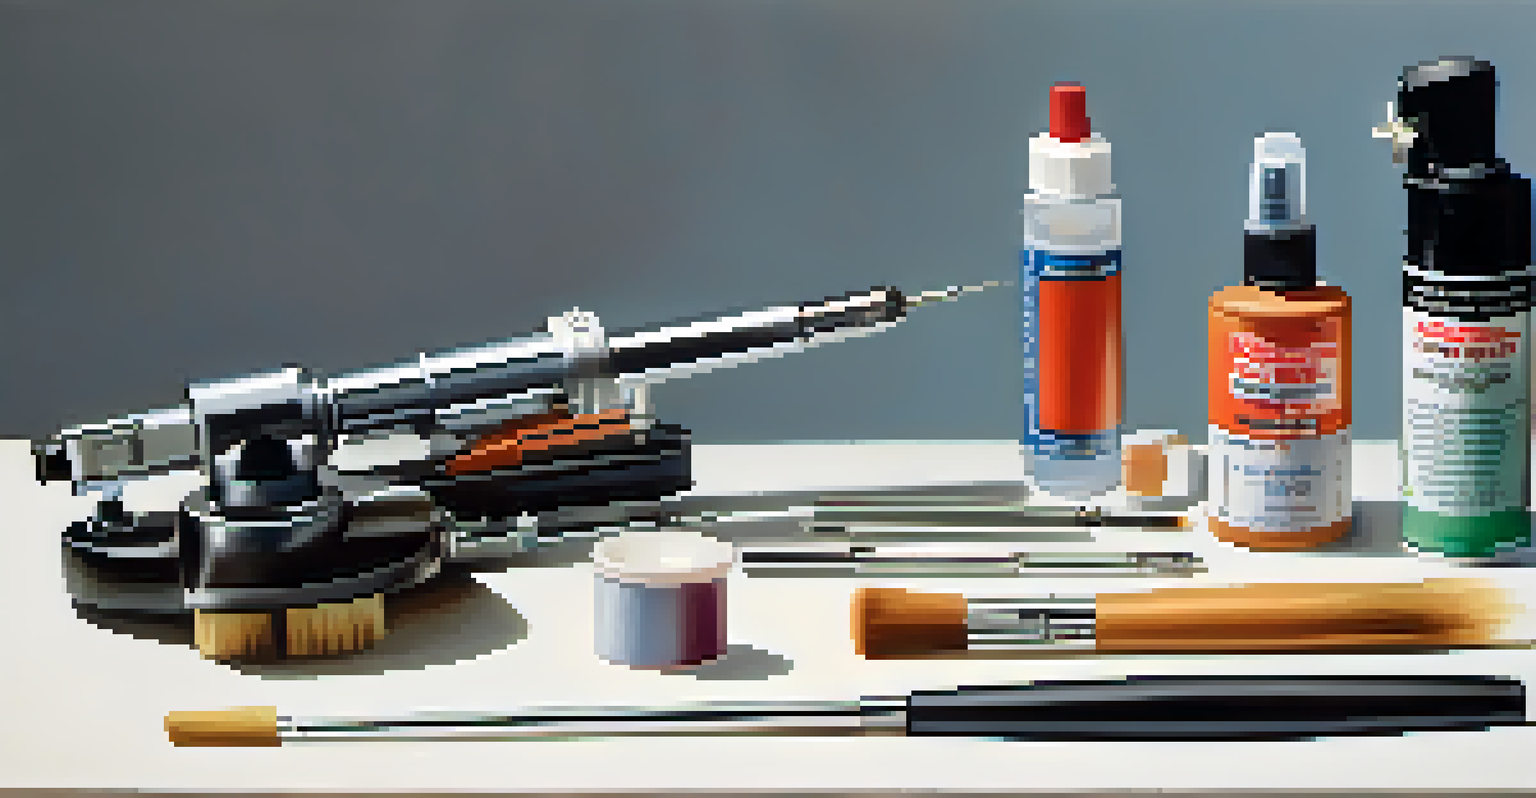
The key components of an airbrush include the nozzle, needle, and air compressor. The nozzle determines the width of the spray pattern, while the needle controls the flow of paint. The air compressor provides the necessary pressure to achieve a fine mist. Knowing how these parts work together will help you troubleshoot any issues while using your airbrush.
By familiarizing yourself with the types and components of airbrushes, you'll set a solid foundation for mastering various techniques. This understanding will also enhance your ability to select the right airbrush for your specific projects, whether you're painting models, artwork, or even applying makeup.
Choosing the Right Paint for Airbrushing
Selecting the right paint is crucial for successful airbrushing. Not all paints are suitable for airbrush use; you’ll want to look for paints that are specifically formulated for this technique. Acrylic paints are popular because they're easy to clean and dry quickly, but you can also find specialty airbrush paints designed for different surfaces and effects.

When choosing paint, consider the viscosity, or thickness, as it affects how well the paint flows through the airbrush. Thinner paints generally work better for airbrushing, but if you have a thicker paint, you can dilute it with a suitable thinner. Always test the paint on a sample surface to see how it behaves before applying it to your final project.
Understand Airbrush Basics
Familiarizing yourself with the types and components of airbrushes is crucial for mastering various techniques and selecting the right tool for your projects.
Remember, using the right paint not only impacts the final look but also affects the ease of application. Experimenting with different types of paint can open up new creative possibilities, so don't hesitate to explore what works best for you.
Preparing Your Workspace for Airbrushing
A well-organized workspace can make a significant difference in your airbrushing experience. Start by choosing a clean, flat surface with good lighting to ensure you can see your work clearly. You’ll also want to protect your surroundings from potential paint overspray, so consider using a drop cloth or paper to cover surfaces.
Creativity takes courage.
Ventilation is another critical factor; airbrushing can produce fumes, especially with certain paints. If possible, work in an area with good airflow or invest in a spray booth with exhaust capabilities. This not only protects your health but also helps maintain a clean work environment.
Having your tools and materials within reach can minimize interruptions and keep you focused on your project. Gather all necessary items, such as your airbrush, paint, thinner, and cleaning supplies, so that everything is ready for use, making your airbrushing process more enjoyable and efficient.
Basic Airbrush Techniques to Master First
When starting with airbrush techniques, it's important to master a few basics before moving on to more complex methods. Begin with the 'double action' technique, where pressing down on the trigger releases air, and pulling back controls paint flow. This method allows for greater control over your application, enabling you to create varying line widths and opacity.
Another fundamental technique is the 'stipple' method, which involves creating a textured effect by tapping the airbrush. This technique is particularly useful for adding depth and dimension to your artwork. Practice this method on a scrap piece to get a feel for how much pressure and distance affects the outcome.
Know Your Airbrush Components
Understanding the parts of your airbrush and their functions is crucial for troubleshooting and selecting the right tool for your projects.
Lastly, experimenting with 'fade' techniques can add a smooth transition of colors. Practice moving the airbrush closer or further away from the surface to control the intensity of the fade. Mastering these basic techniques will give you a strong foundation to expand your airbrushing skills.
Blending Colors with Your Airbrush
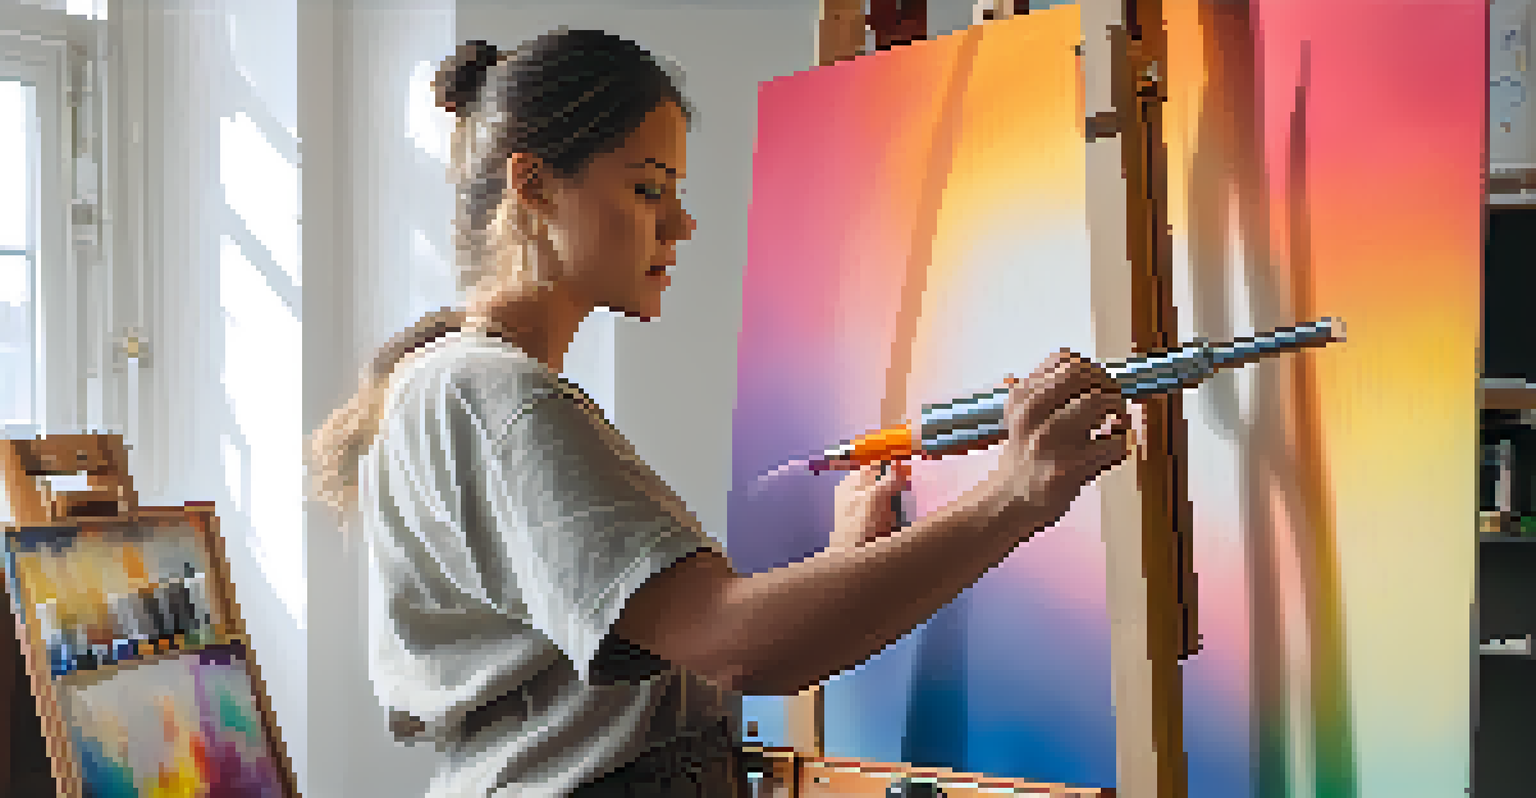
One of the most exciting aspects of airbrushing is the ability to blend colors seamlessly. To achieve a smooth gradient, start by applying a light base coat and then gradually introduce the darker or contrasting colors. Overlap the colors while the paint is still wet to create a natural blend.
Using a circular motion while applying paint can help achieve a more organic transition between colors. Remember to adjust the distance of the airbrush from the surface; closer application will intensify the color, while a wider distance will create a lighter shade. It's all about finding the right balance for your desired effect.
Don’t hesitate to experiment with different combinations of colors and techniques. With practice, you’ll develop your unique style and learn how to create stunning, blended effects that will elevate your airbrushing projects.
Cleaning and Maintaining Your Airbrush
Proper cleaning and maintenance of your airbrush are essential for longevity and performance. After each use, it’s important to clean the airbrush thoroughly to prevent paint from drying and clogging the nozzle. Begin by flushing the airbrush with a suitable cleaner or water, depending on the type of paint used.
Disassembling the airbrush occasionally for a deep clean can also help maintain its performance. Carefully remove the needle and nozzle, and clean these parts with a soft brush or cloth. Regular maintenance ensures that your airbrush continues to function smoothly and provides consistent results.
Choose the Right Paint
Selecting paints specifically formulated for airbrushing, like acrylics, impacts the final look and application ease.
By taking the time to care for your airbrush, you’ll not only prolong its life but also enhance your overall airbrushing experience. A well-maintained airbrush can make all the difference in achieving those perfect applications.
Troubleshooting Common Airbrush Problems
Even experienced airbrush artists encounter issues from time to time, but knowing how to troubleshoot common problems can save you a lot of frustration. One frequent issue is clogging, which can occur due to dried paint or using the wrong viscosity. If you notice a sputtering spray, it’s time to clean your airbrush and check if your paint needs thinning.
Another common problem is inconsistent spray patterns. This can be caused by improper air pressure, so make sure your compressor is set to the right PSI for your project. Experimenting with different settings can help you find the sweet spot for the best application.

Lastly, if you’re experiencing difficulty in achieving the desired color or opacity, consider adjusting your distance from the surface. Moving too close can lead to oversaturation, while being too far can wash out the color. With practice and patience, you’ll be able to troubleshoot and resolve these common airbrush challenges.